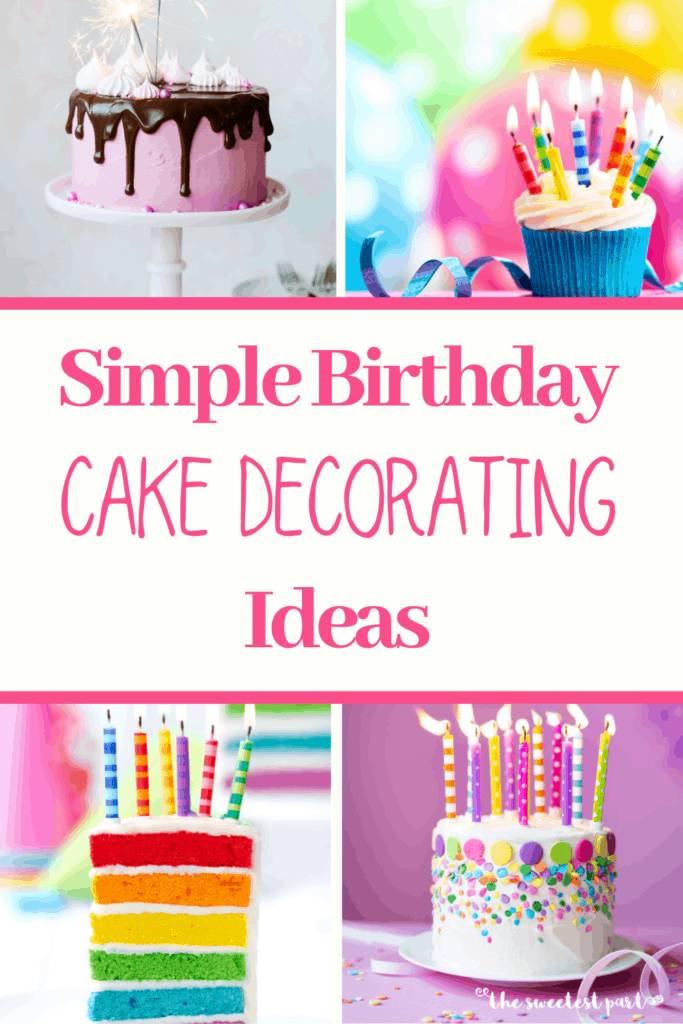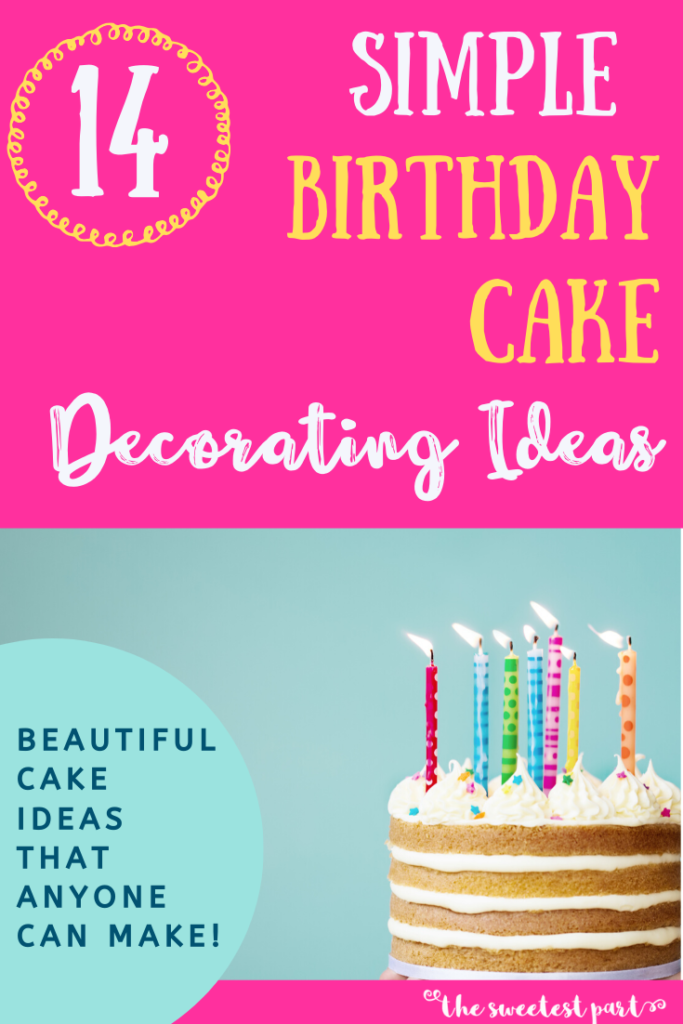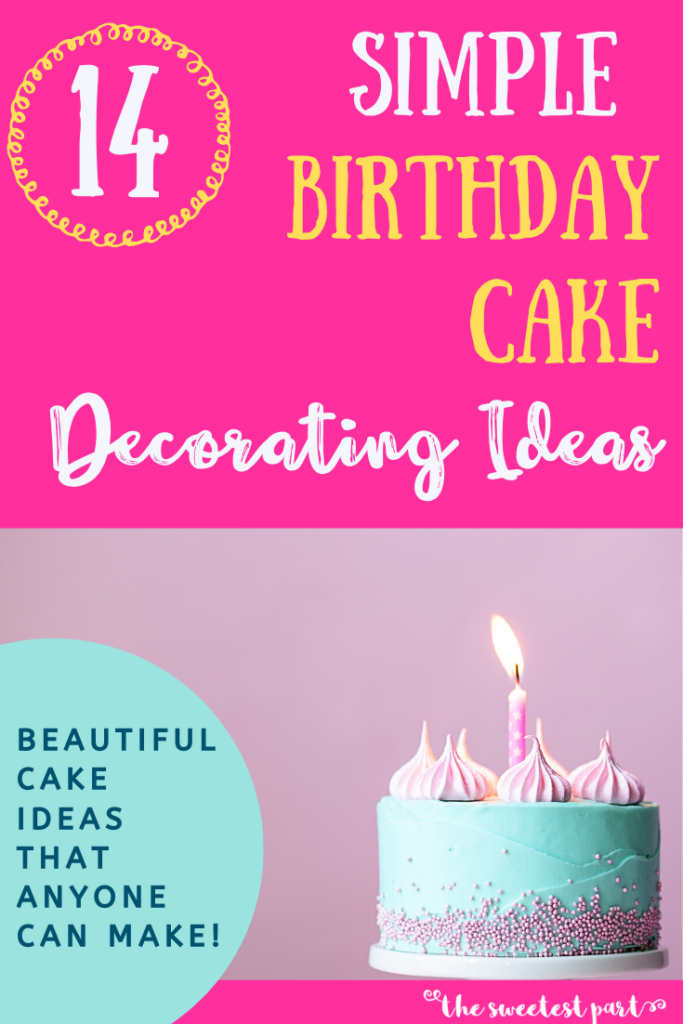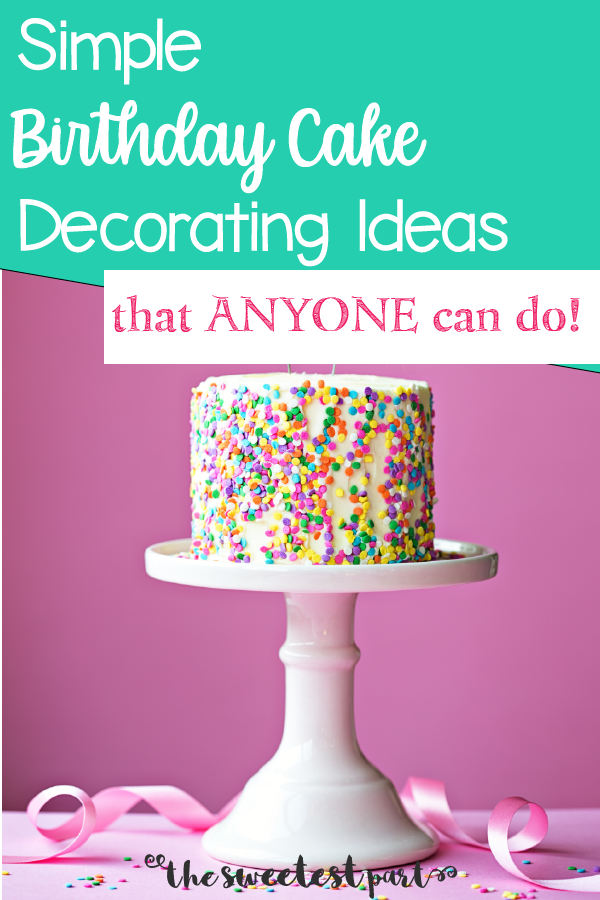
Simple Birthday Cake Decorating Ideas (That Anyone Can Do)!
Making your child’s birthday cake yourself can be daunting, but with a few simple birthday cake decorating ideas, it can be a piece of….. well, you know!
Do you know how with your first child you want everything to be perfect? Well, when my oldest child was about to turn one year old, I marched myself into my favorite bakery about an hour from the rural town where we live and showed them a picture of an adorable tiered farm cake with mini fondant animals and asked them,
“How much will this cost?”
I stood there stunned as I was told, “The 2 tiered cake alone will be $200 and if you want to go the “cheap route” you can use Fisher Price animals on the cake instead of the fondant ones.”(I didn’t stay around to ask how much those would cost!!!). Cake-making is an expensive business, and believe me, I understand why! However, I really liked the idea of making my kids cakes, so…..
That was the beginning of my fore’ into making my children’s birthday cakes!
A New Hobby?
You know, anything is possible with a little want-to! And I knew that I could make my son’s cake, but I really did want it to be perfect! I spent hours and hours molding those little cows and pigs, and in the end, it wasn’t perfect (it leaned a little… oh well!), but it is my favorite cake that I have ever made, probably because I had fun doing it! (You can see a pic of it here if you really want to check it out! =)
And over the years, my baking and decorating skills have grown, but I would argue that I have NEVER made the perfect cake, but I would argue, that making the perfect cake is NOT the goal! Making a delicious cake? Yes! Making a fun cake? Yes! A cake your kids will love, Yes! And they will love it, because you made it, especially for them!
So, if you are like me, and want to make a beautiful, festive cake for your child’s birthday, stick around for a few simple birthday cake-decorating ideas and tips that will help you get started! I will tell you in advance that I stay away from character cakes and anything that is too difficult. If my kids want a certain character on their cake, I will most likely purchase a figure from Amazon!
The Foundation: The Cake
First, you have to decide what size and shape of cake you want to make. If you are baking a large layer cake, you need to be prepared for how much batter and frosting you will need (I use this chart from Wilton to help me decide serving sizes and amount of batter needed)!
Are you looking for a great cake recipe, check out my recipe for the best cake ever!!! After that, you will need a frosting recipe, so check out this one for delicious buttercream and this one for dark chocolate buttercream! Now, take a breath, and don’t get overwhelmed! We are going to take this in baby steps!
Once you have decided which cake recipe you are going to use and what size pan you will use, plan for how much batter you will need. Most box recipes make about 4-5 1/2 cups of batter (my recipe above is closer to 6 cups). I usually use one full recipe per 10-inch round pan and 2 recipes split between 3-8 inch pans (I like tall cakes and I cannot lie… I’m sorry… I couldn’t help myself!!!).
Baking Your Cake
Now, bake your cake. Make sure your oven does not bake too hot (check out my post about baking essentials and oven temps). Don’t know if your oven bakes too hot and you don’t have an oven thermometer? Turn your oven down about 15-25 degrees and bake your cake a little longer. If the oven is too hot, the outside edge will burn by the time the center is baked.
If you want to, you can bake your cakes ahead of time (up to several months), wrap each layer well in clear wrap once they are cooled, and keep them in the freezer. When you are ready to use them, bring them to room temperature while leaving the clear wrap on until completely thawed.
Next, make your icing and have it ready (this can be done several days in advance and kept in the refrigerator)! Now, on to the decorating!!!
The Frosting
If you are going to stick with white buttercream or regular chocolate frosting, you are good to go! However, it you are thinking of adding some color? GO FOR IT! It’s super easy and fun!
Check out these frosting gel paste colors. I have used several different kinds and my only preference is that it comes in the squirt bottle rather than the little pot, because they can make an awful mess!!! Still, make sure that you close your bottle completely. It’s really best to keep them sealed in a separate plastic container just to be safe.
Now, remember with these frosting colors: A LITTLE GOES A LONG WAY!!! Don’t turn the bottle of pink upside down over your bowl of beautiful frosting thinking it’s going to come out pale pink…. It’ll be more like electric pink!!! Start with a wee amount and I’m not exaggerating! If you want a pale color, open the bottle and barely dip a toothpick in the dye, and touch it to your frosting. You will be amazed at how much color that little spot of icing coloring will go!
Frost your cake as you desire and if you want to decorate more with frosting, keep some to the side for this. Now, for the real fun!
Tip: If you notice crumbs in your frosting as you are spreading it on your cake, don’t panic!! Go ahead and put a thin layer of frosting on your entire cake and then refrigerate it for about 10 minutes. When you pull the cake back out, begin frosting your cake again and you will notice that your first layer of frosting has created a barrier, and crumbs are no longer coming off on your spatula! This is called a crumb coat!
Simple Birthday Cake Decorating: The Embellishments!
There are so many things that you can do to make a cake festive and fun that don’t have to be “traditional” cake decorating. Here are just a few ideas… feel free to let your imagination run wild on this one!
Cake Decorating with Sprinkles
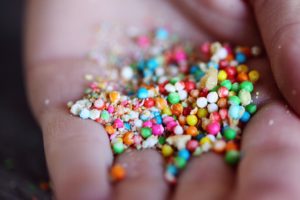
I have a thing for sprinkles. It’s true! If you saw how large my basket of sprinkles is, you might understand! I have a motto when it comes to cake decorating!
“Sprinkles cover a multitude of imperfections!” And I have to tell you, it’s SO TRUE! You can lightly toss them across a cupcake that you thought you had ruined with your sub-par piping skills and guess what!?! Camouflage!!! Use sprinkles liberally!
*Spread them across the top of your cake
*gently cover the sides of your cake with them(this works best if your frosting is a little thick and your cake is chilled and placed on a cake board the same size as the cake).
*One of my favorites, is to cut a template out for the age of your child. (For example: Do this by printing or writing a large “5” on a piece of paper. Next lay a piece of wax paper or parchment paper over the number. Trace and then cut out). Finally, lay it gently over the top of your cake and sprinkle away. When you remove the number, you’ll have a sprinkled outline of your child’s age! See my little guy below with his 5th birthday cake!
*There are also some really awesome edible cake glitters now that can dress a simple cake up beautifully!!!
Nuts, Coconut, and Chocolate!
Just like sprinkles, you can spread chopped (preferably toasted) nuts and coconut on or around a cake to jazz it up a little. Chocolate curls make for a really elegant cake and can be bought now in many grocery stores. Use these tiny little curls to fill the top of a rich dark chocolate cake or gently press into the sides of your cake. In this case, if the cake is chilled the curls might not stick!
Cake Decorating Ideas With Candy
There is an abundance of bright, colorful candies in any local grocery store! If you have a color scheme, pick varying shades of each color and if not, then go wild with any color you like!
- M& Ms, Sixlets, jelly beans, nonpareils, and colorful candy canes are just a few that you could use.
- Stick dum-dum suckers through your finished cake to make a colorful border around the top.
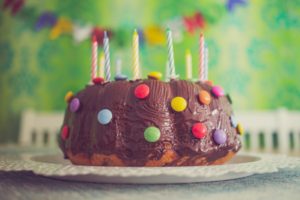
- If you want polka dots, you can use unmelted candy melts flipped over so their flat side would show. Place the colorful candy around your cake. Be sure that you make your icing sturdy (i.e. thick) enough that the weight of the candy won’t cause it to slide down the frosting.
Tip: Candy melts are wonderful and versatile! You can find these melts in different colors in your grocery or craft store near the cake decorating supplies. I have used these for many things including beaks for bird cupcakes (I just cut the into a partial triangle with a sharp knife). If you are going to use the melts as is, without melting, you may want to take your (clean) finger and rub or “polish” your melt just a bit. This will get some of the haze or white appearance off of the melt and you can see the more vibrant color much better!
- Starburst candies can also be used to model things like flowers or bugs. Fondant is also not that scary… think of it as edible play dough! You can make all kinds of figures or shapes and then allow them to dry for a few days before applying them to your cake. You can even roll it out and cut it with tiny cookie cutters and let the shapes dry before you use them. If you are using fondant and want it to stay on the side, you may need to apply a little buttercream to the back (it will act as glue!).
Other Birthday Cake Decorating Ideas
- Place decorated sugar cookies on top of your cake for a little pizzazz. Remember that expensive bakery? They have large, beautiful, and delicious decorated sugar cookies for $3-4 each! Or get half a dozen small cut-out flower cookies and sit them around the edge of your cake!
- Buy an inexpensive toy to use as the cake topper. A Captain America toy doubling as a cake topper… win-win!
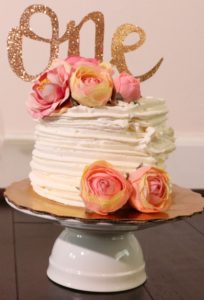
- Place pre-made icing flowers on top of your cake. You can purchase these at a local cake decorating supply store or search for fondant flowers on Etsy!
- Speaking of Etsy…. You can buy premade fondant cake toppers that are totally adorable and then all you really have to do is frost the cake and put the topper on!!! Check out this snoopy one!
- If you are celebrating a milestone birthday, get a simple topper that says how old your child is!
- Check out Amazon for some cute and affordable (and quickly shipped) cake toppers (I really like this Happy Birthday bunting because it looks handmade!)!
Natural Birthday Cake Decorating Ideas
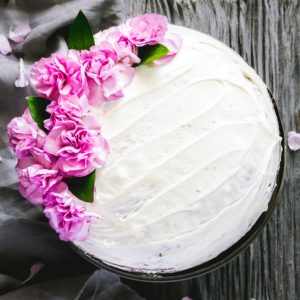
- Fresh flowers are beautiful on cakes, but not all are safe to have near food! In addition, many flowers may be sprayed with a pesticide that you wouldn’t want your family to consume. If you are going to use flowers on your cake, be sure that they are safe flowers for use near food. Pansies, roses, carnations, chrysanthemums, peonies, daisies, and sunflowers are all considered safe to be on or near food. (for a full list, check here). If you are unsure whether the flowers were treated with pesticides, etc. place a piece of wax paper or parchment paper to fit the top of your cake and place the flowers on top of that paper. You can still use frosting if you need it to act as “glue” to help position your flowers on the paper, but you will just remove the flowers and the entire wax or parchment paper sheet when you are ready to serve the cake!
- Another food-safe simple cake decorating idea is fruit! You can place large strawberries, raspberries, and blackberries along the top of your cake to make a beautiful display! Be sure to wash your berries and let them dry completely as well as come to room temperature. If your berries are cold, they will sweat as they warm and that will cause condensation on your cake which won’t be pretty! Chocolate-covered strawberries along the edge of your cake would also be beautiful!!!
Birthday Cake Decorating Ideas: If You Are Feeling More Ambitious
These birthday cake decorating ideas are a little more difficult than the ones mentioned above, but are still very doable!
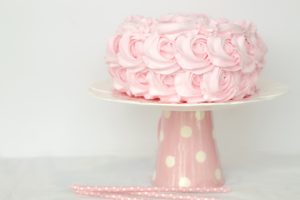
- Purchase a couple of frosting tips (my favorite are the Wilton 1M and 2D) and practice on a paper plate or wax paper (once you are finished you can scrape the frosting back into your bowl and reuse it for practice or decorating). You can practice making simple stars by holding your piping bag at a 90-degree angle and squeezing the bag lightly and then releasing it while gently pulling the bag and tip away. You can use the 2D tip and make stars all over the cake to make it appear like petals. Also, you can practice making large swirls and then place rosettes (which are much easier than they look) all over the cake!

- Use candy melts to make simple designs like hearts, stars, etc. Melt candy melts in the microwave and then place the melts in a piping bag (or even zip lock bag) and snip a small hole in the end of the bag. You can use a simple clipart picture or freehand any design that you want onto wax paper and then allow them to dry. Or if you want, you can shake sprinkles along the top of the design before the melts have hardened to make an, even more, fun and colorful design! Once your design has been set, gently remove it from the wax paper and place it onto your cake. This won’t be sturdy enough to stand on its own, but it can be set along the sides of the cake. Squeeze a little frosting on the back of your design to act as glue and help it stick to the cake.
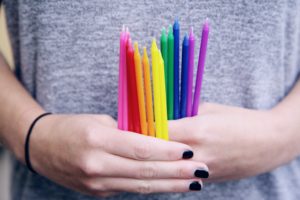
Don’t forget the candles!
In our house, candles can sometimes be an afterthought, but there is no reason that you can’t use the candles as a focal point of your cake! And there are so many great candles to choose from now!
- Try sparkler candles… those are always really festive!!!
- Candles that spell out Happy Birthday”, because I NEVER want to pipe words onto cakes!!!
- These fun twisted candles would look so cute on a simply decorated layer cake!
- I really love tall candles of almost any kind, but these are so colorful & pretty!!!
- Check out these adorable unicorn candles.
There are so many simple birthday cake decorating ideas that you can use to dress up a birthday cake! And whether you use sprinkles, candy, or just some simple candles, remember that it’s really all about the love you show your child on his or her special day!
Do you have some simple birthday cake decorating ideas? If so, please share them with us in the comments below!
Want to save all of these great ideas for simple ways to decorate birthday cakes? Pin this post to your favorite Pinterest board!